


Guide to eBike Racks: What to Choose and How to Use
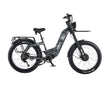
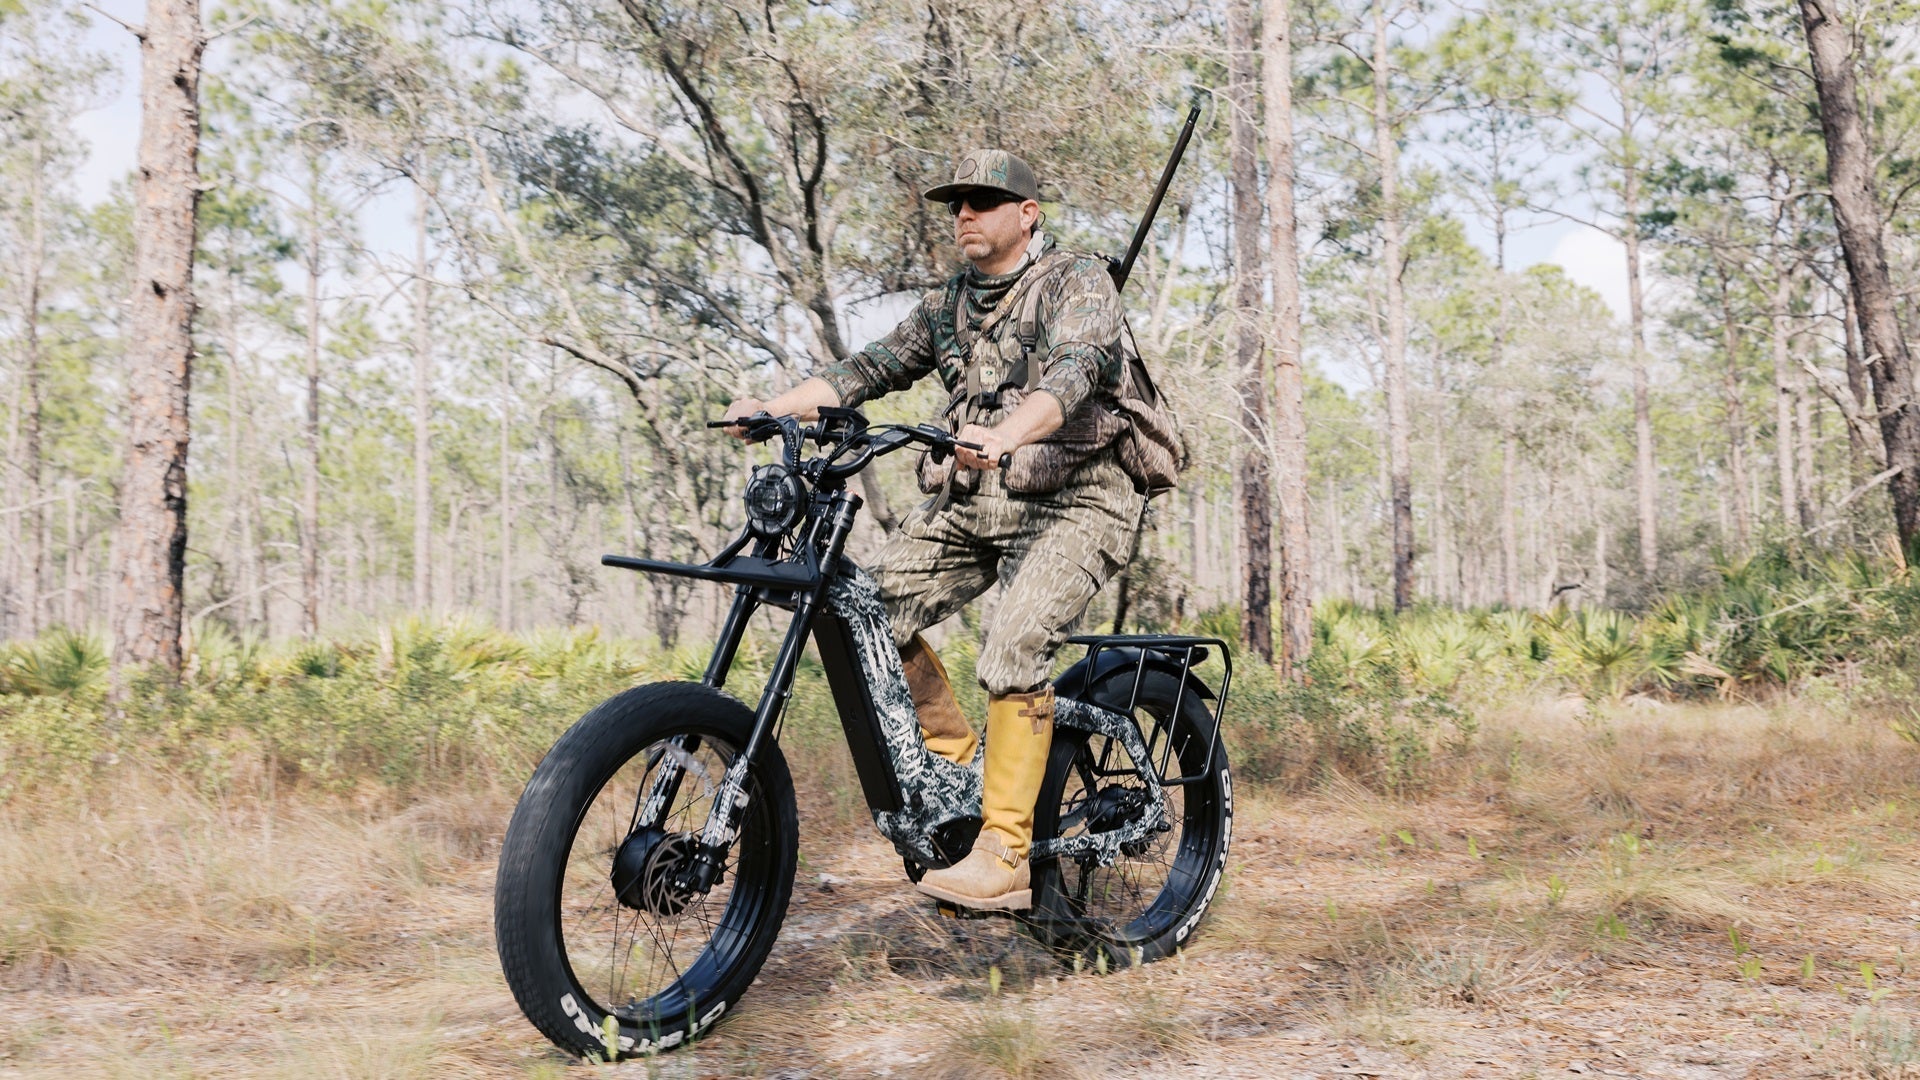
Electric hunting bikes have redefined backcountry mobility—but transporting one safely requires the right method. Not all bike racks or loading techniques are made for fat tires, large frames, and higher payloads. If you own, or plan to invest in an all-terrain beast like the Birch Grolar, knowing how to load and secure it properly is just as important as the gear you mount on it.
This guide covers:
- What sets eBike racks apart from standard racks
- Step-by-step instructions for mounting your eBike with or without a ramp
- Tips to protect your bike, your rack, and your back
Conventional Bike Racks vs. Racks Built for eBikes
Many riders make the mistake of trying to load a modern electric bike onto a traditional bike rack. The truth is, most conventional racks simply weren’t designed with eBikes or electric mountain bikes (eMTBs) in mind, due to their much bulkier weight and size.
Here’s how the two compare:
|
Feature |
Standard Bike Rack |
eBike-Ready Rack |
|
Weight Capacity |
35–60 lbs per bike |
95–120+ lbs per bike |
|
Tire Width Support |
Typically 1.75"–2.5" |
Supports fat tires up to 4"–5" wide |
|
Rack Structure |
Lightweight arms, often frame-mounted |
Reinforced trays and wheel cradles designed for stability |
|
Mount Type |
1.25" hitch, trunk mount, or roof rack |
2” hitch receiver only |
|
Stability at Speed |
May wobble under heavier loads |
Engineered for rugged off-road and high-speed travel |
|
Loading Support |
Manual lift only |
Often includes ramp or tilt-down system |
Here’s the bottom line: Standard racks are built for pedal bikes and light, commuter eBikes—not 60–110 lb torque machines with cargo racks, wide tires, and dual motors. Attempting to use one could cause rack failure or damage your bike and vehicle.
Why a Heavy-Duty Rack Matters
With a hunting eBike capable of hauling game and gear over long distances and varying terrain, you get added size and heft as a non-negotiable. That’s why choosing a rack rated for 95+ lbs per bike and designed for fat tire support is essential. Without the right rack, you risk damaging your eBike—or worse, losing it on the highway.
A quality rack gives you:
- The freedom to hunt anywhere without exhausting pre-dawn rides
- Better organization and safer gear transport
- Easier loading, especially when used with a ramp or tilt-down system
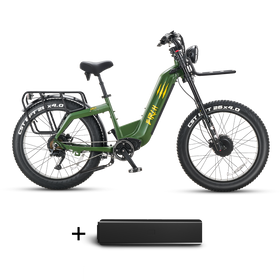
A good thing to check is if your eBike’s battery can be removed or not. For example, The Grolar includes a removable 14-lb battery, which should always be detached before loading to reduce strain and protect electrical components.

How to Mount Your eBike With a Ramp (Recommended)
Using a loading ramp is the safest, most efficient way to load a heavy-duty eBike onto a rack. Here’s how to do it step by step:
Step 1: Prep Your Bike
- Remove battery and accessories to lighten the load
- Check tire pressure to ensure smooth rolling
Step 2: Position the Ramp
- Park on level ground and set your vehicle’s parking brake
- Attach or extend the ramp securely to the wheel tray
Step 3: Align and Roll
- Hold both brake levers and guide the bike slowly up the ramp
- Keep the wheels aligned to avoid slipping
Step 4: Seat the Bike in the Trays
- Once at the top, settle both wheels into the rack’s tire cradles
- Use body weight to stabilize the bike if needed
Step 5: Lock and Strap
- Secure the frame with arm clamps
- Use wheel straps on both front and rear
- Shake the bike slightly—there should be no movement
How to Mount Without a Ramp (If You Must)
This method requires more physical effort and is best done with two people. If lifting solo, go slow and prioritize back safety.
Step 1: Lighten the Load
- Remove the battery, bags, or any attached trailer mounts
- Tilt the bike slightly to shift center of gravity
Step 2: Lift the Front Wheel
- Grip the front fork and frame
- Lift and place the front wheel into the rack tray
Step 3: Lift the Rear Wheel
- With the front seated, lift the rear and roll it into place
- Avoid twisting your back or lifting too quickly
Step 4: Strap and Secure
- Lock down with clamps and wheel straps
- Check every contact point for slippage before driving

Transport Tips and Best Practices
- Always remove the battery (if applicable) before loading
- Use a 2" hitch-mounted rack rated for heavy loads
- Check all clamps and straps after 10 minutes on the road
- Add locking accessories to deter theft
- Store the ramp inside your vehicle for easy reuse
Final Thoughts: Mount Right, Ride Farther
When you're riding a high-performance machine like the Birch Grolar, investing in a solid rack and learning how to mount it properly pays off every time you leave pavement. Whether you're scouting new terrain, accessing deeper hunt zones, or heading out for a multi-day trip, your rack is the first tool that makes the journey possible.
Learn your method—ramp or lift—and pair it with a rack built for the wild. Because getting there is just as important as what you do once the tires hit dirt.


Leave a comment
All comments are moderated before being published.
This site is protected by hCaptcha and the hCaptcha Privacy Policy and Terms of Service apply.